DIY Folding Sleeping Pad: Turn a Roll-Up Foam Pad into a Z-Fold for Free
Clear proof and a guide on how to get a folding sleeping pad for free. All you need is an old roll-up foam pad, a sharp knife and a few minutes of work.
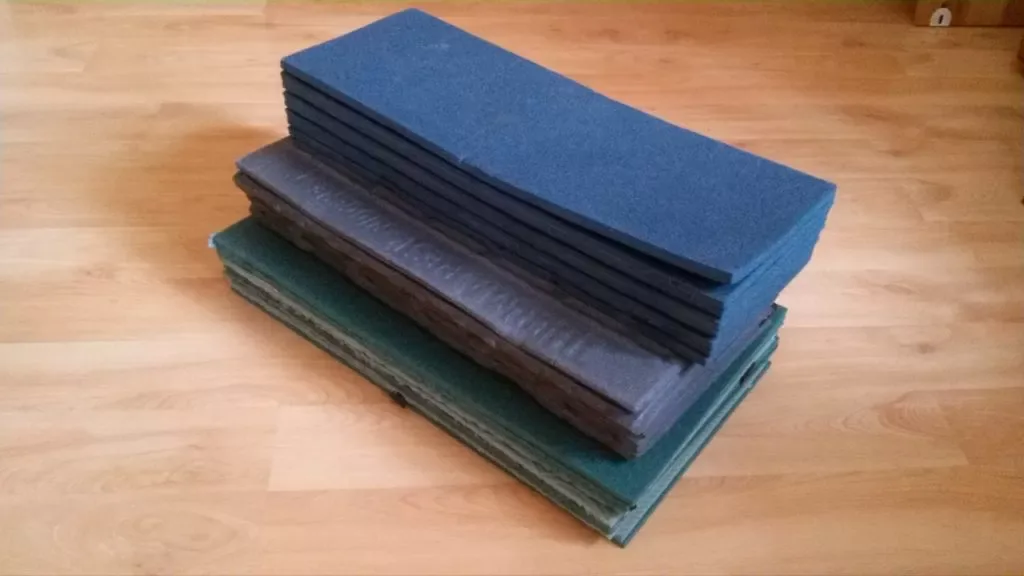
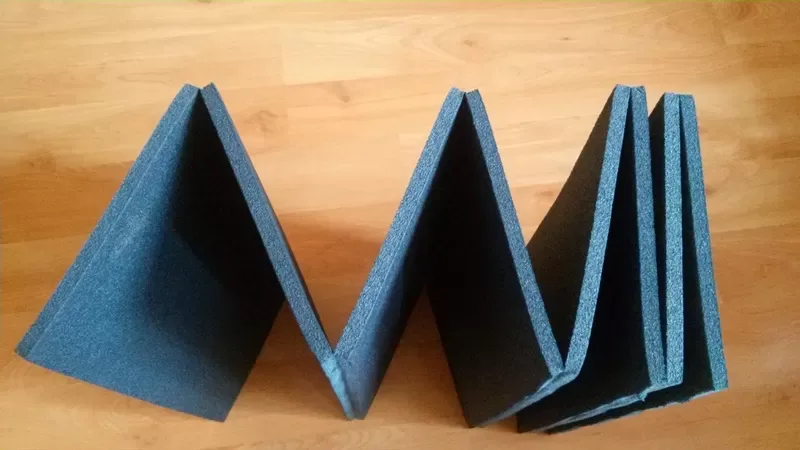
Interested in an ultralight folding sleeping pad with these benefits?
- it’s (almost) free
- it takes up less space than a classic “roll-up” pad
- you can use it as a comfortable pad for sitting (what I value most)
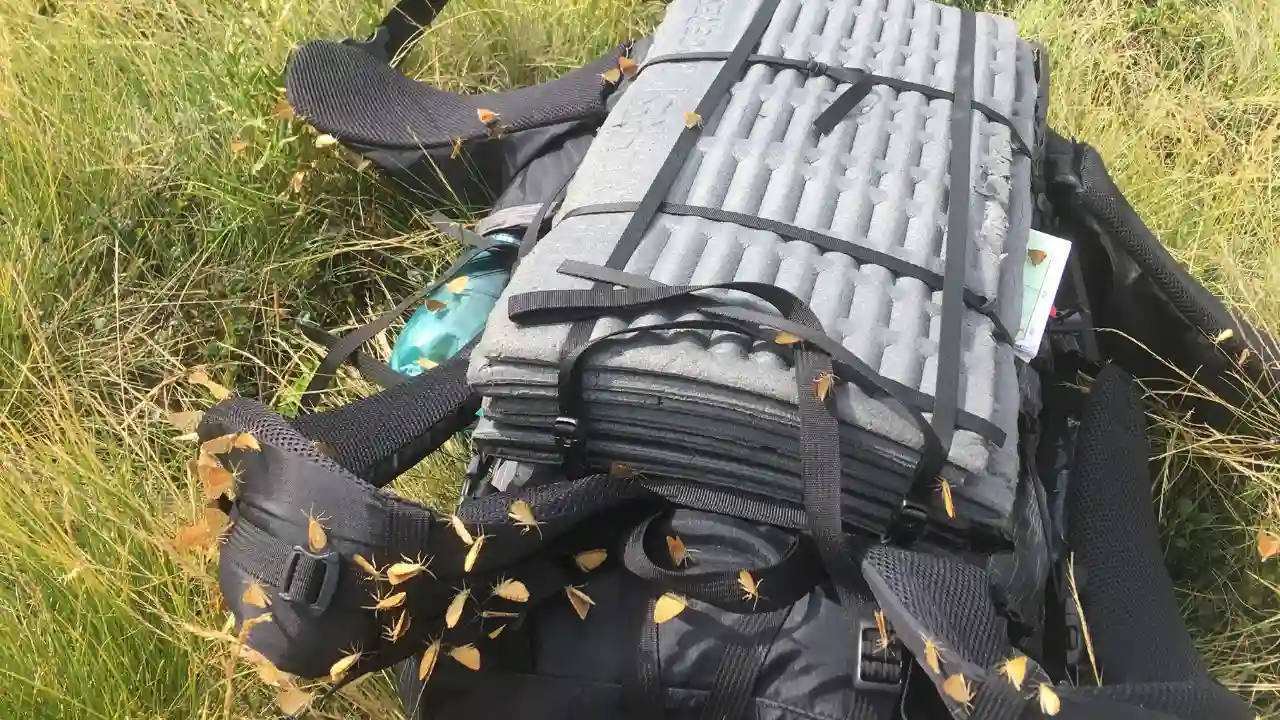
- you can use it as padding on the back of your backpack (if your pack is designed for it – see the main photo)
- you pack it quickly and easily
- it doesn’t flatten as fast as a Z Lite
- and most importantly – you’ll be more “in” and can finally consider yourself a true ultralighter
If you’re worried this “tuning” will shorten your pad’s life, don’t be – with normal use mine has lasted more than 3 years. That applies to a Therm-a-Rest pad. In my experience a basic cheap foam pad doesn’t last that long; it starts tearing at the folds.
Guide: how to make a folding sleeping pad
I’m sure you could do it without a guide – this article is more proof that it’s easy.
What you need
An older foam pad (ideally a Therm-a-Rest RidgeRest), a sharp knife, a ruler/tape measure, a marker and two hands.
Steps
- Decide whether you’re OK with cutting into your sleeping pad.
- LENGTH: Decide how long you want your pad to be. I recommend shortening it to your height. Or even shorter, if you sleep with a pillow – you don’t need the part under your head and you’ll save more weight.
- WIDTH: Choose the width, your pad will have when folded, and at this distance you’ll make the “cuts”. Take into account the width of your backpack’s back panel so that the total length of the pad is divisible by this measurement, and also how thick you want it to be when folded.
- EXAMPLE: My pad is 154 cm (5 ft) long and 1 cm (0.4 in) thick. A width of around 20 cm (8 in) seems ideal, so I look for a number around 20 that 154 divides by (roughly) – in my case it was 19. So 154 / 19 = 8 (roughly). When folded, the pad will be 8 cm (3 in) thick (8 panels) and 19 cm (7.5 in) wide. Once you’ve chosen the right size, you can move on to cutting.
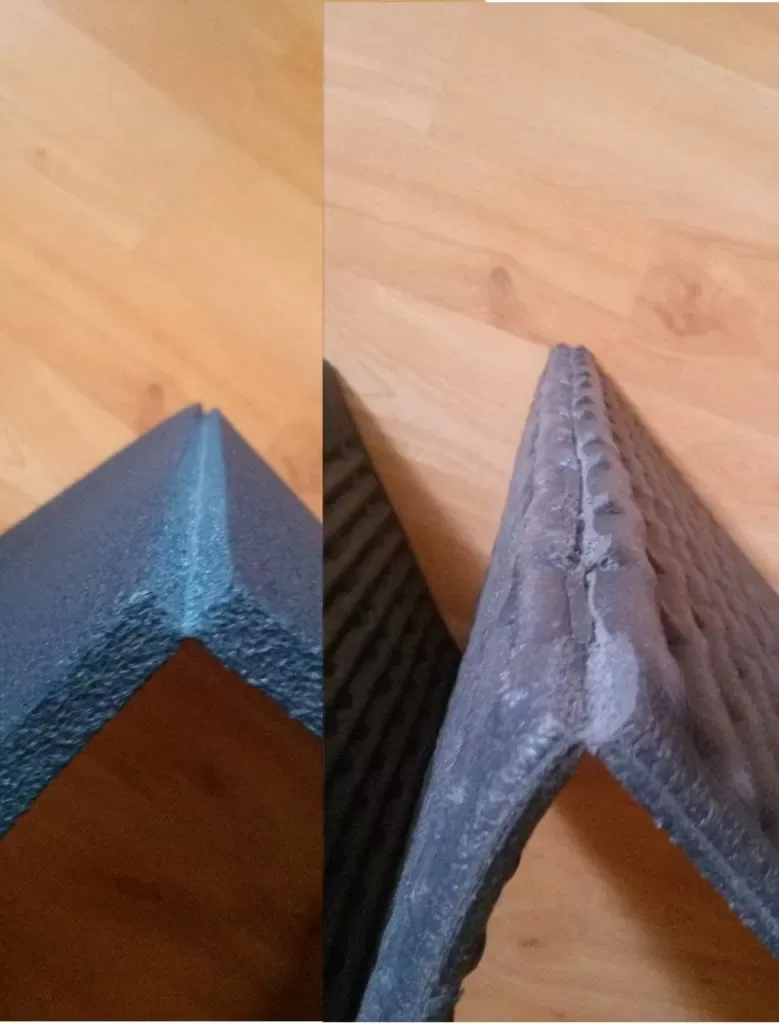
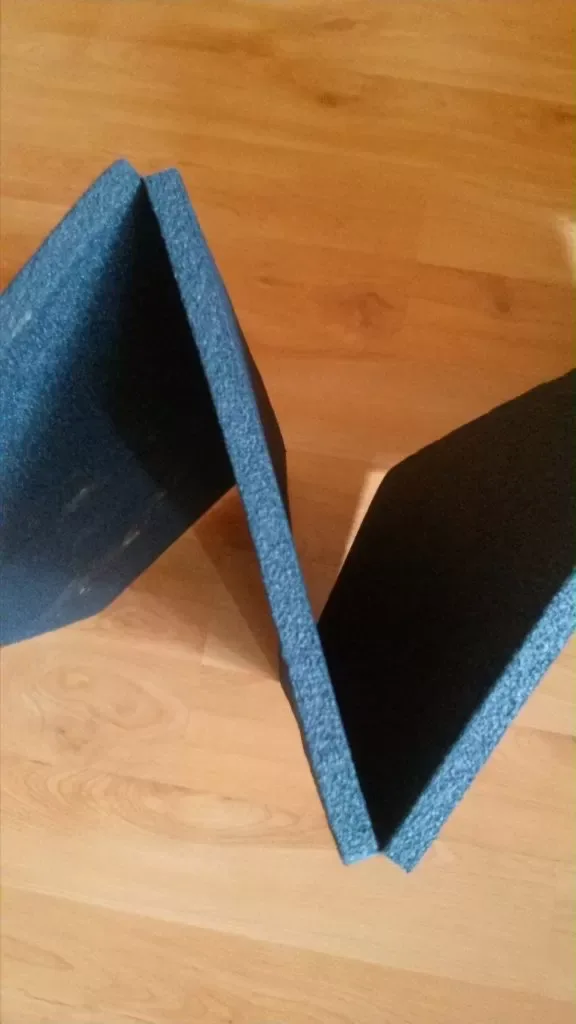
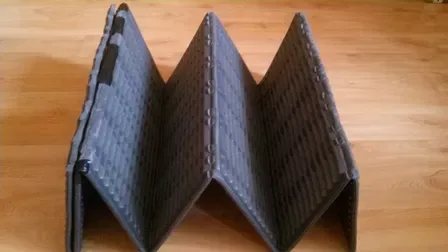
- CUTS are always made ALTERNATELY from one side and then the other, after measuring out the chosen size. Be careful not to cut through the pad! Always run the knife only lightly, just enough to only SCORE the pad and NOT cut through it. A classic snap-off utility knife works best. SHARP. You can also bend it a little, to see how deep the cut is.
- I recommend marking the side that goes on the ground and the side you sleep on. I put a cross on mine.
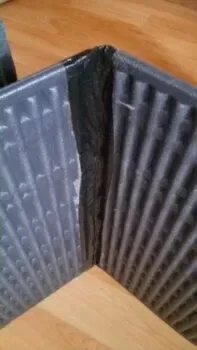
- If your knife slips, don’t worry – everything can be fixed with duct tape. In this case (below) bad measuring was to blame, hence the classic final advice: “Measure twice, cut once.”
❓ FAQ
How do you make a foam sleeping pad foldable?
Cut it to your height, choose the folded width (e.g. about 19–20 cm / 7.5–8 in), then score it alternately from one side and the other at that distance – only score, never cut through. A sharp snap-off utility knife works best.
Which sleeping pad works best for this DIY?
A closed-cell foam pad like the Therm-a-Rest RidgeRest. Mine has lasted more than 3 years with normal use; cheap basic foam pads tend to tear at the folds.
What if I cut through the pad by mistake?
No problem – fix it with duct tape. And remember: measure twice, cut once.
📚 Related reading

🏕️ Best ultralight backpacking gear on a budget
How to save weight and money – what’s worth buying and what to make yourself.

👣 DIY barefoot sandals in 4 steps
Another DIY guide – light sandals you can make at home.

🚿 DIY portable camping shower 12V
A portable shower with its own battery in an hour of work.
👁️⃤ See you in the Temple of Nature! 🌄